Getting Started
Influencer
Meet Influencer, a real app that serves as a reference point
What is the Influencer App?
The Influencer app serves as a demonstration of what users can achieve with Nitrokit, a product designed to streamline development and productivity for app builders, specifically with Angular and modern development tools. It provides an actual working application that showcases key features and best practices in coding and architecture, which are part of the Nitrokit package.

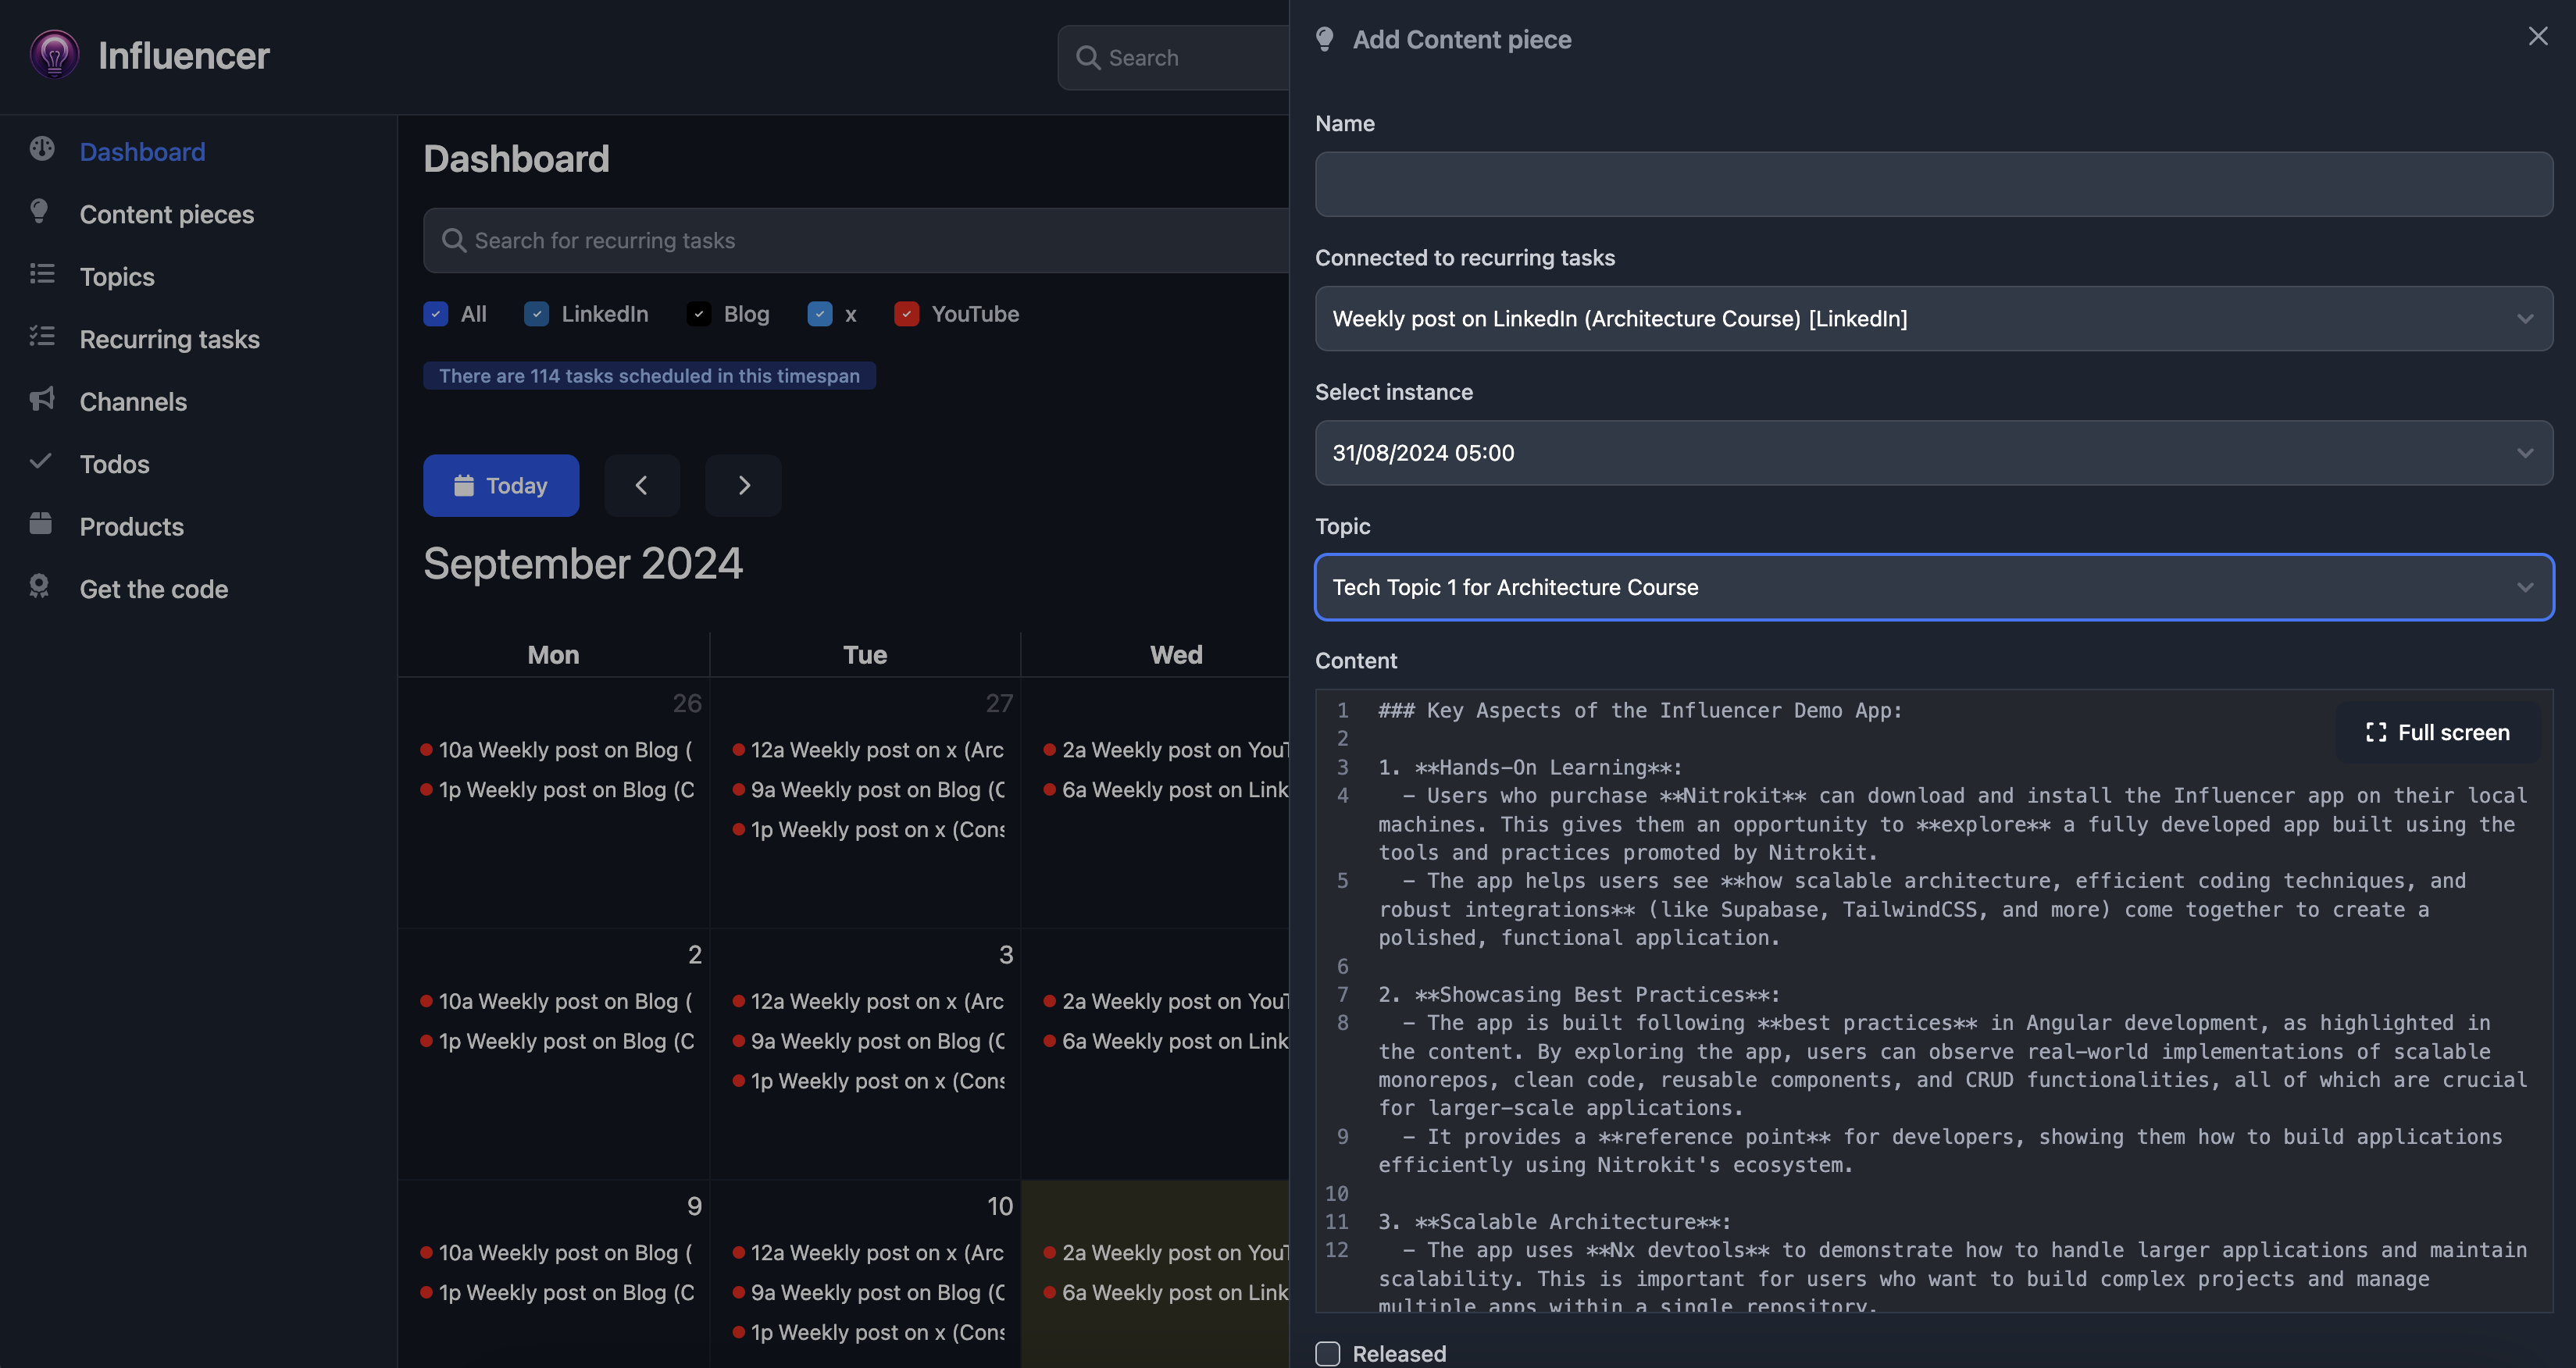
Key Aspects of the Influencer Demo App:
- Hands-On Learning:
- Users who purchase Nitrokit can download and install the Influencer app on their local machines. This gives them an opportunity to explore a fully developed app built using the tools and practices promoted by Nitrokit.
- The app helps users see how scalable architecture, efficient coding techniques, and robust integrations (like Supabase, TailwindCSS, and more) come together to create a polished, functional application.
- Showcasing Best Practices:
- The app is built following best practices in Angular development, as highlighted in the content. By exploring the app, users can observe real-world implementations of scalable monorepos, clean code, reusable components, and CRUD functionalities, all of which are crucial for larger-scale applications.
- It provides a reference point for developers, showing them how to build applications efficiently using Nitrokit's ecosystem.
- Scalable Architecture:
- The app uses Nx devtools to demonstrate how to handle larger applications and maintain scalability. This is important for users who want to build complex projects and manage multiple apps within a single repository.
- Integration Showcase:
- Supabase is used for user authentication and database management, and Flowbite is integrated for a modular design system. These integrations help users understand how to use third-party services within their own projects.
- By playing with the app, users can get a feel for how to integrate similar features into their own applications using Nitrokit's toolkit.
- Start Building Right Away:
- With Nitrokit and the Influencer demo app, users don’t have to start from scratch. They can begin with a fully functioning app, learning by exploring, tweaking, and building on top of the existing code. This saves time and provides an immediate sense of productivity.
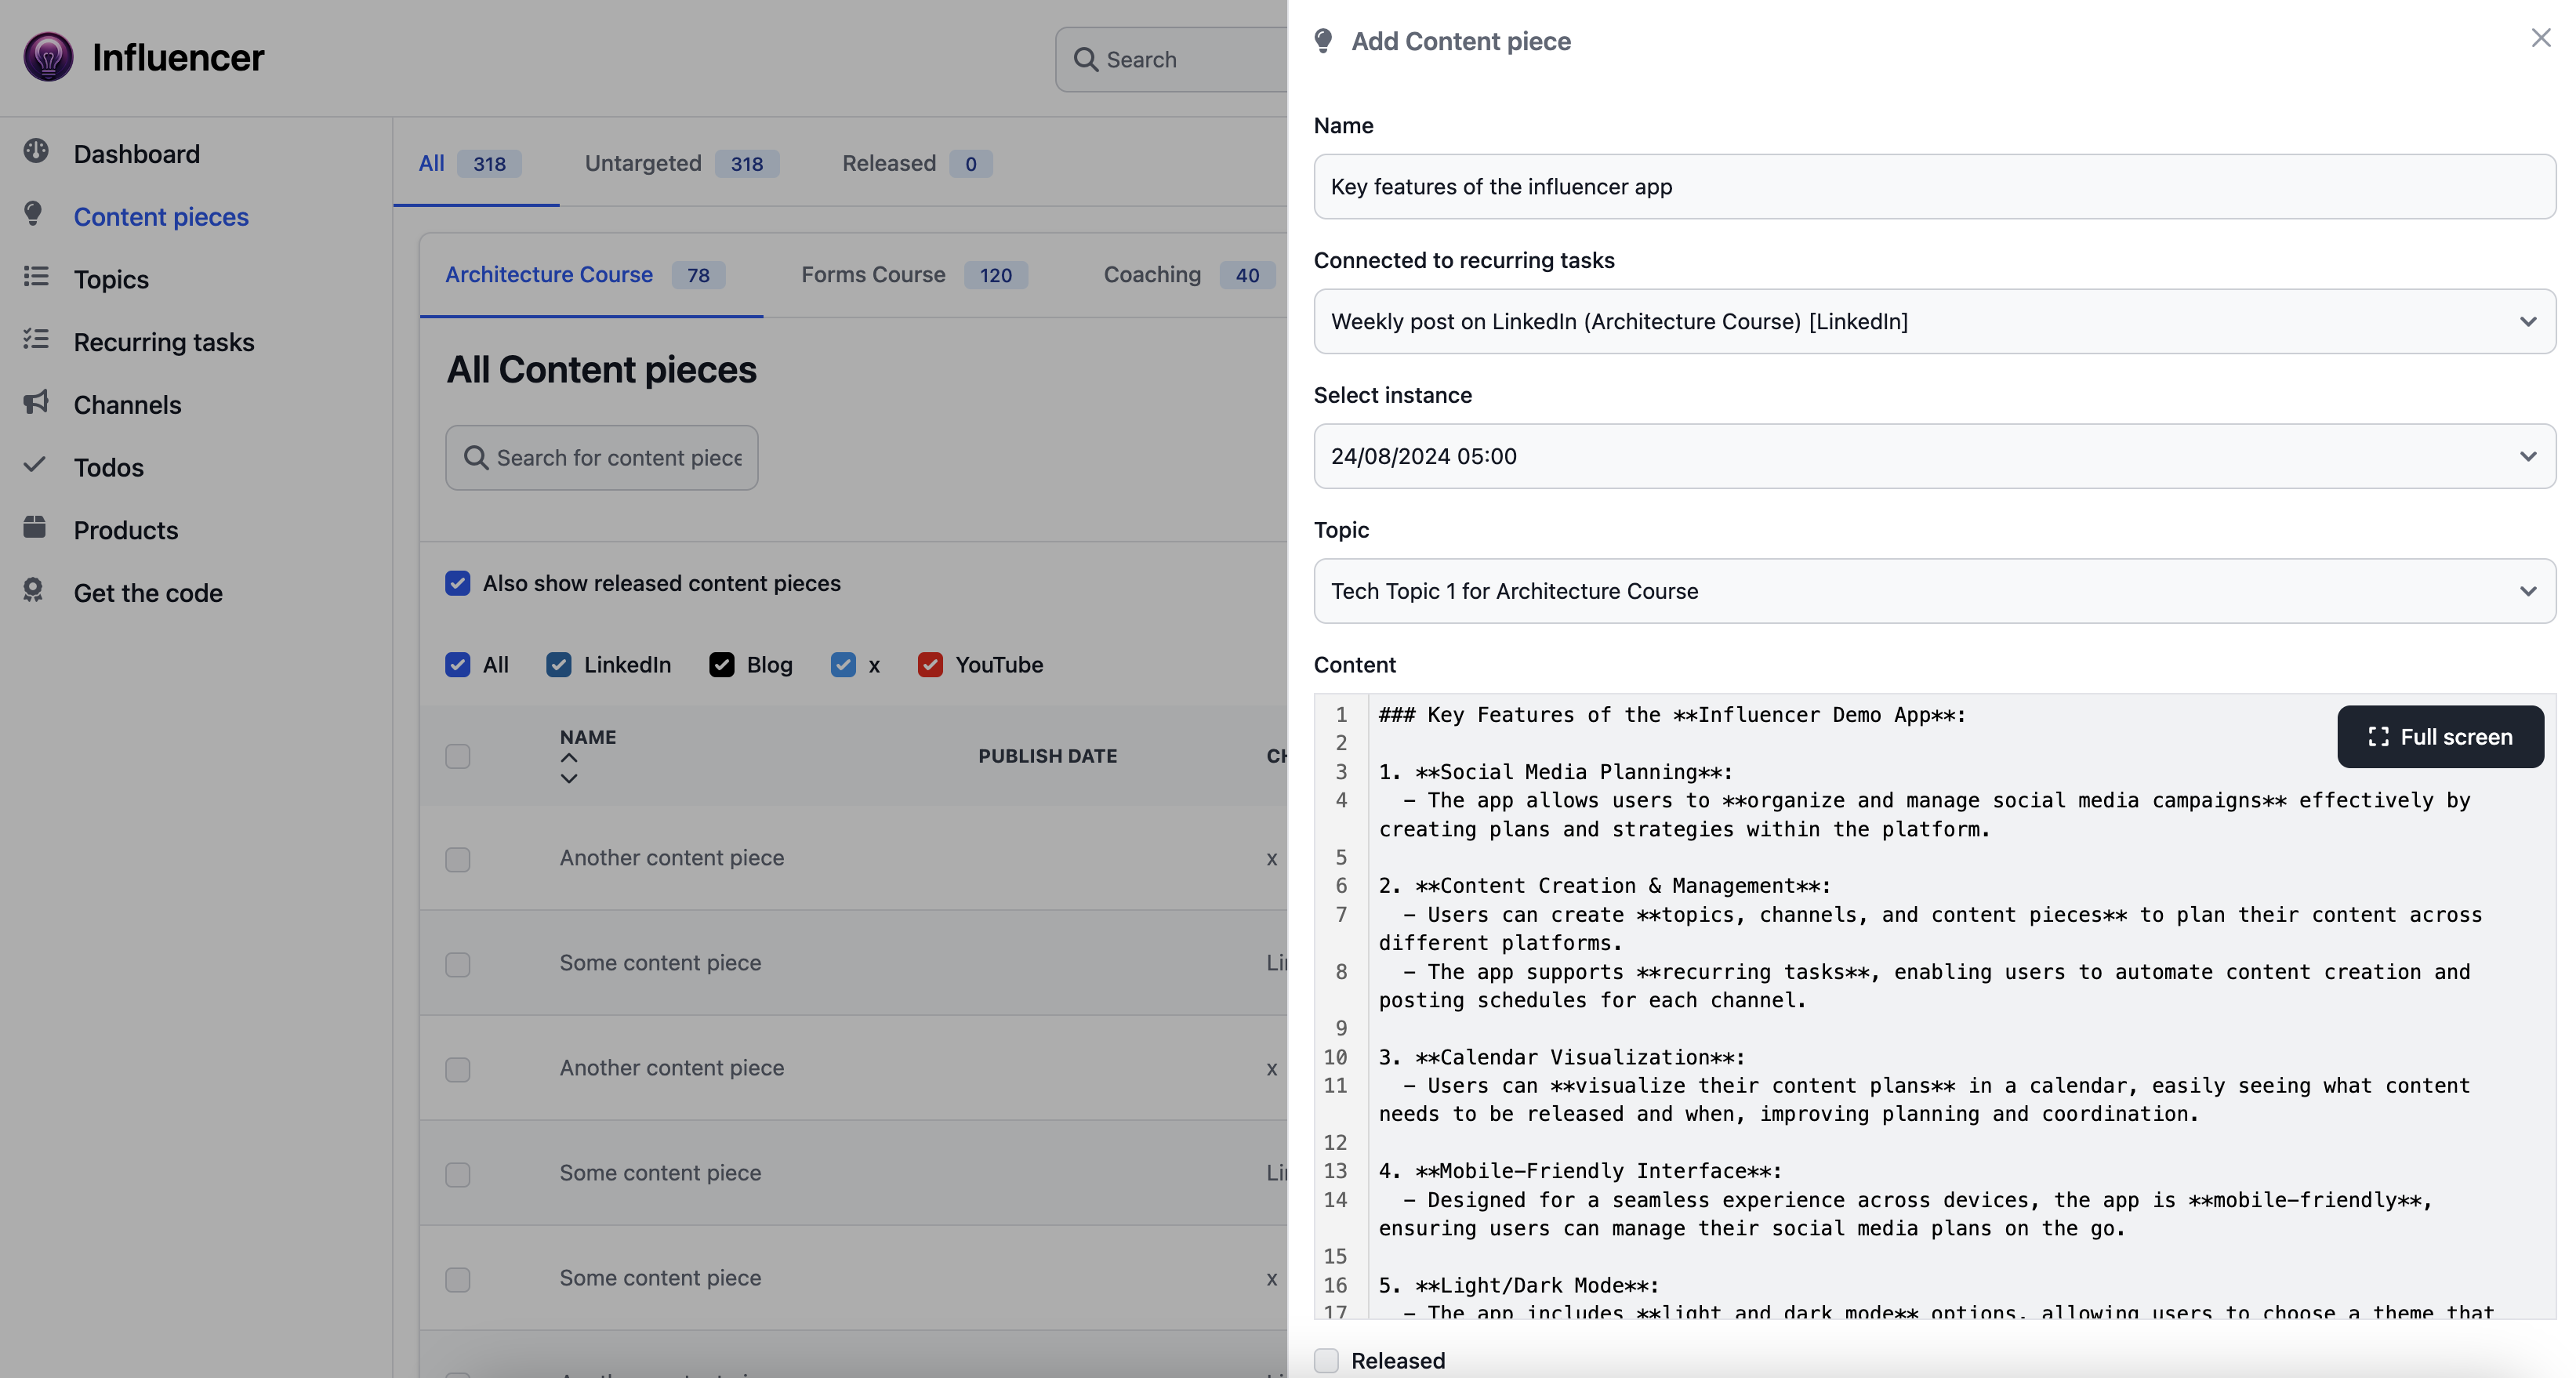
Key Features of the Influencer Demo App:
- Social Media Planning:
- The app allows users to organize and manage social media campaigns effectively by creating plans and strategies within the platform.
- Content Creation & Management:
- Users can create topics, channels, and content pieces to plan their content across different platforms.
- The app supports recurring tasks, enabling users to automate content creation and posting schedules for each channel.
- Calendar Visualization:
- Users can visualize their content plans in a calendar, easily seeing what content needs to be released and when, improving planning and coordination.
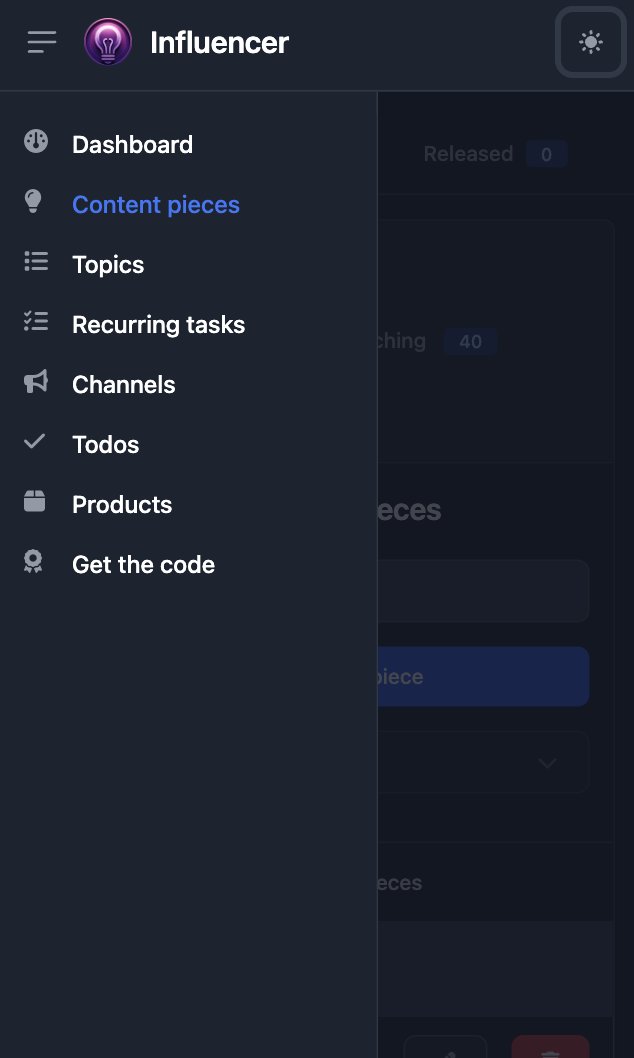
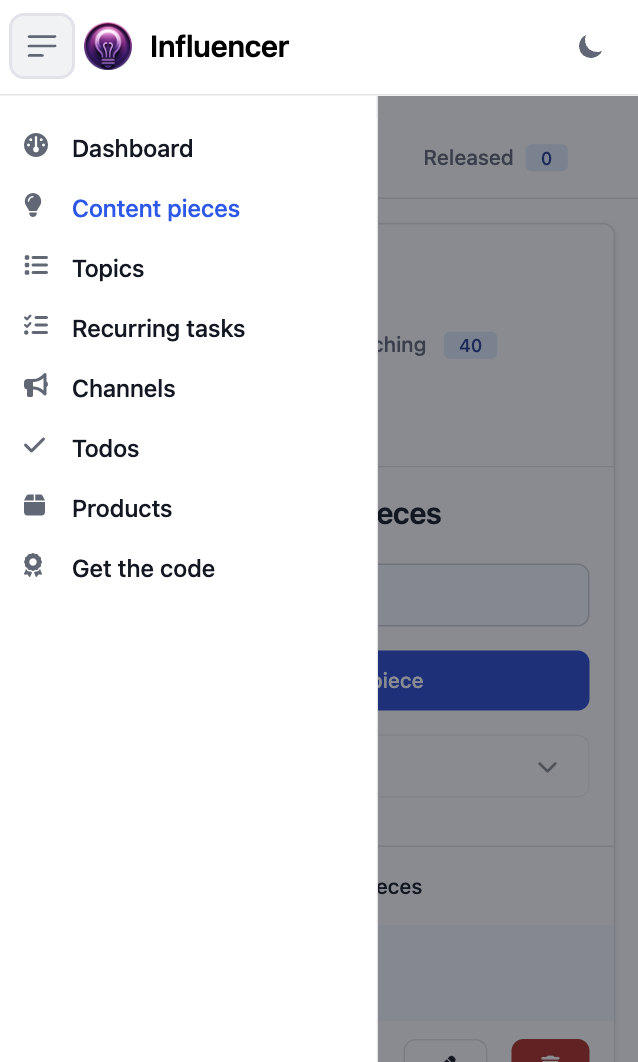
- Mobile-Friendly Interface:
- Designed for a seamless experience across devices, the app is mobile-friendly, ensuring users can manage their social media plans on the go.
- Light/Dark Mode:
- The app includes light and dark mode options, allowing users to choose a theme that fits their preferences and environment.
- Toasts for Notifications:
- Provides real-time feedback with toast notifications, helping users stay informed about important actions like successful updates, errors, or task completions.
- State Management:
- Incorporates efficient state management to ensure a smooth and responsive user experience, keeping the app fast and reliable.
- User Authentication:
- Integrated with Supabase for secure and scalable user authentication and database management.
Slick design
Influencer and Nitrokit use tailwindcss with flowbite{:target="_blank"}. Nitrokit takes care of
- A clean opinionated design
- Light/dark mode
- Mobile friendly design


How Influencer Works
If you've followed the local setup instructions or registered on the website, you should already have some default data. But what if you don't? No worries, just follow these steps:
- Add a Product: A product could be anything you offer—an online course, a service, a book, you name it. Just get it in there.
- Add Channels: Time to add one or more channels—think X (formerly Twitter), LinkedIn, or whatever platform you’re targeting.
- Create Topics: Say you’re launching an architecture course with 20 chapters. Each chapter can be a topic, giving you a library of content to choose from. Bonus: You can sync with GitHub to keep everything up to date.
Have questions?
Still have questions? Talk to support.
