Getting Started
Create an app from scratch
Want to use Nitrokit to build your next idea right away?! We'll get you set up in minutes.
Intro
You have probably already installed influencer, and that is great to give you some know-how of how supabase works etc.
But now, it is time to create an application from scratch.
We will create an app called workshops.
This tutorial will show you how to set up a brand new supabase app that already contains
- Authentication
- Saving of user data, email
- Storing avatar
- Enable RLS
It will also guide you through creating your own Angular application in this workspace by using custom generators.
At the end you will have:
- A working Angular app with authentication called
workshop - Your app connected to supabase and ready to start developing
- Default crud logic for
flows(which represents flows for our workshop application) - Light/darkmode working
- Only lost a few minutes 🚀
This tutorial used to be a step-by-step tasklist but we have recently developed an AI tool that can help you.
Creating a brand new app
We are going to create a brand new supabase app called workshops:
Go to https://supabase.com/dashboard/projects,
Click on New project, choose your organisation and type in workshops as the project name.
Choose a safe database password (store it, you'll need it later) and click on Create new Project.
Url configuration
By default, we use magic links to authenticate, you can choose your own later. Go to Authentication > CONFIGURATION > Url Configuration
For site URL you choose http://localhost:4200 and for Redirect URLs
you should click the Add url button and add http://localhost:4200 again.
Now click on Save URLs.
It is recommended to use your own SMTP provider settings, even for development. Go to Authentication > Rate Limits.
- Click on View SMTP settings, scroll down till you see SMTP Settings.
- Click on Enable Custom SMTP and add your correct SMTP settings.
Now go to Authentication > Rate Limits. Set Rate limit for sending emails to 200 or something and save
Get the DB info
Now go to Project settings > CONFIGURATION > Database. You'll need to capture the following configuration:
- Host
- Database name
- Port
- User
- Password
Now go to home, scroll down and get the project url and api key, you'l need those too.
Login
First login with supabase, If something fails always check if you are logged in. This is important to automate everything.
npx supabase loginCreate the app (incl supabase setup)
 Now open the code-assistant with the following commands (parallel):
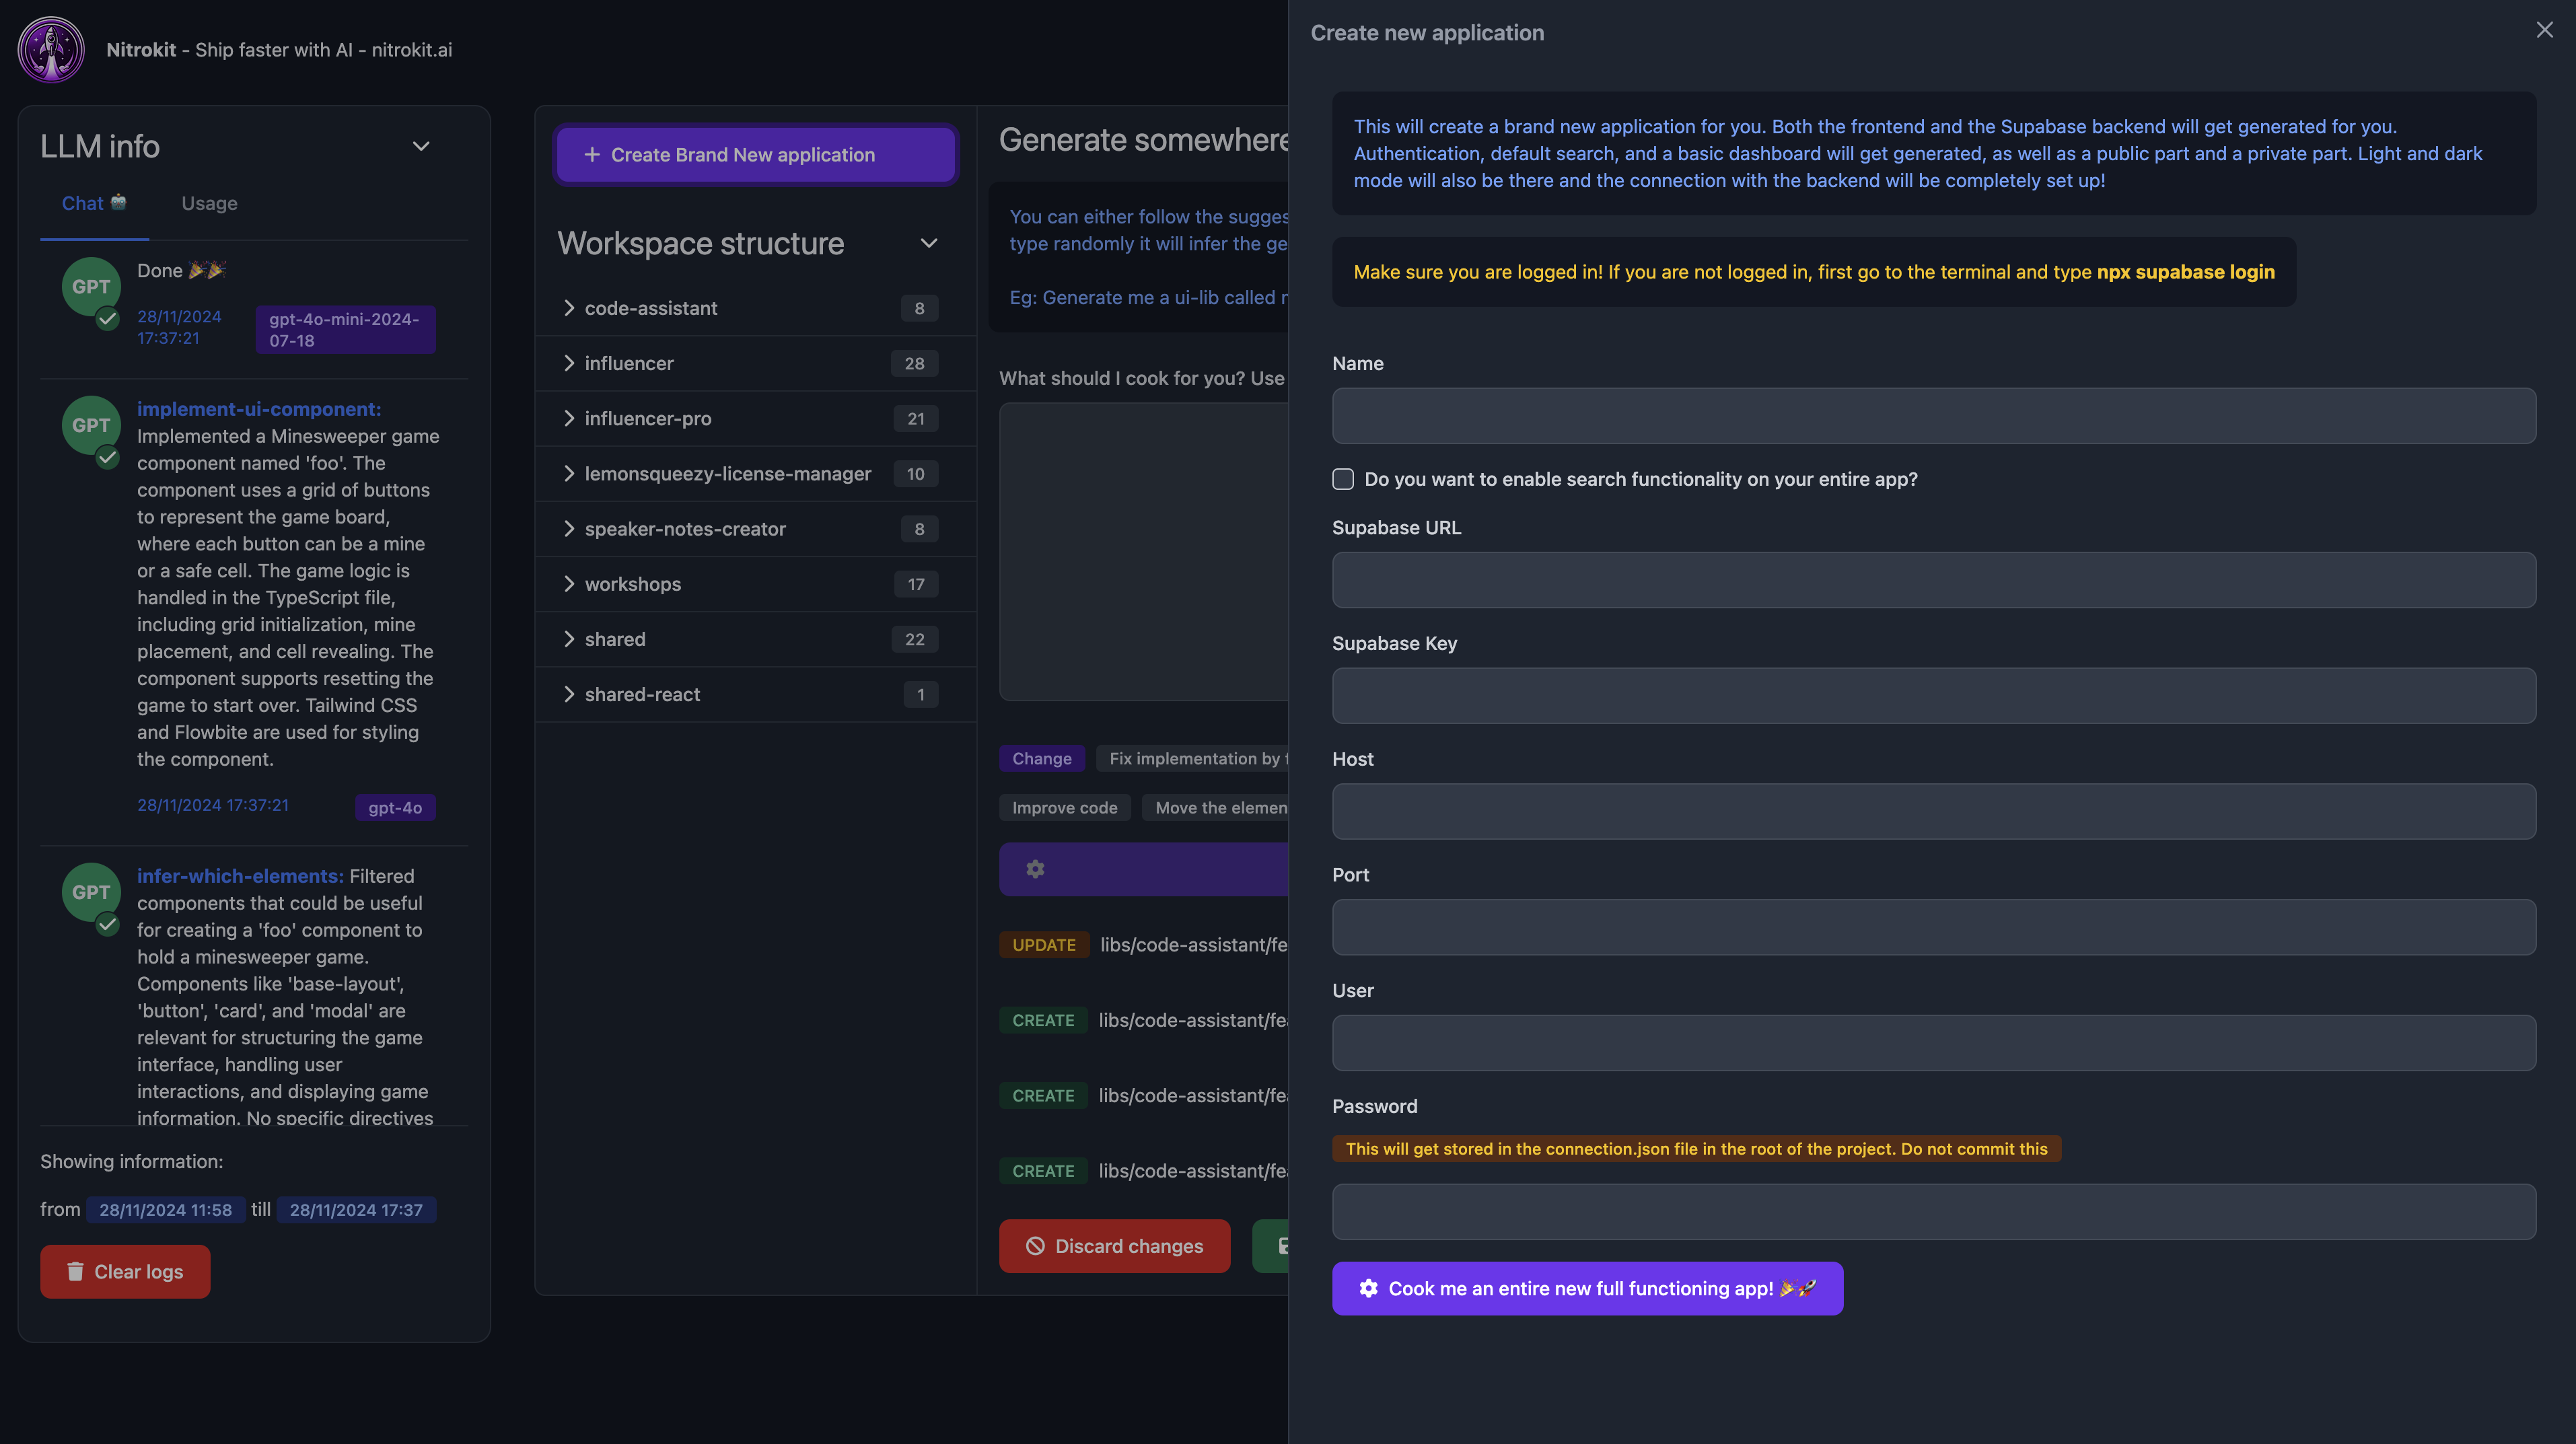
npx nx run nitrokit:servenpx nx run nitrokit-electron:serveNow press **command + n ** or control + n, fill in the form and click the create button.
This will set up a brand-new application for you and will set up the default database settings in supabase.
Generating a crud feature with AI
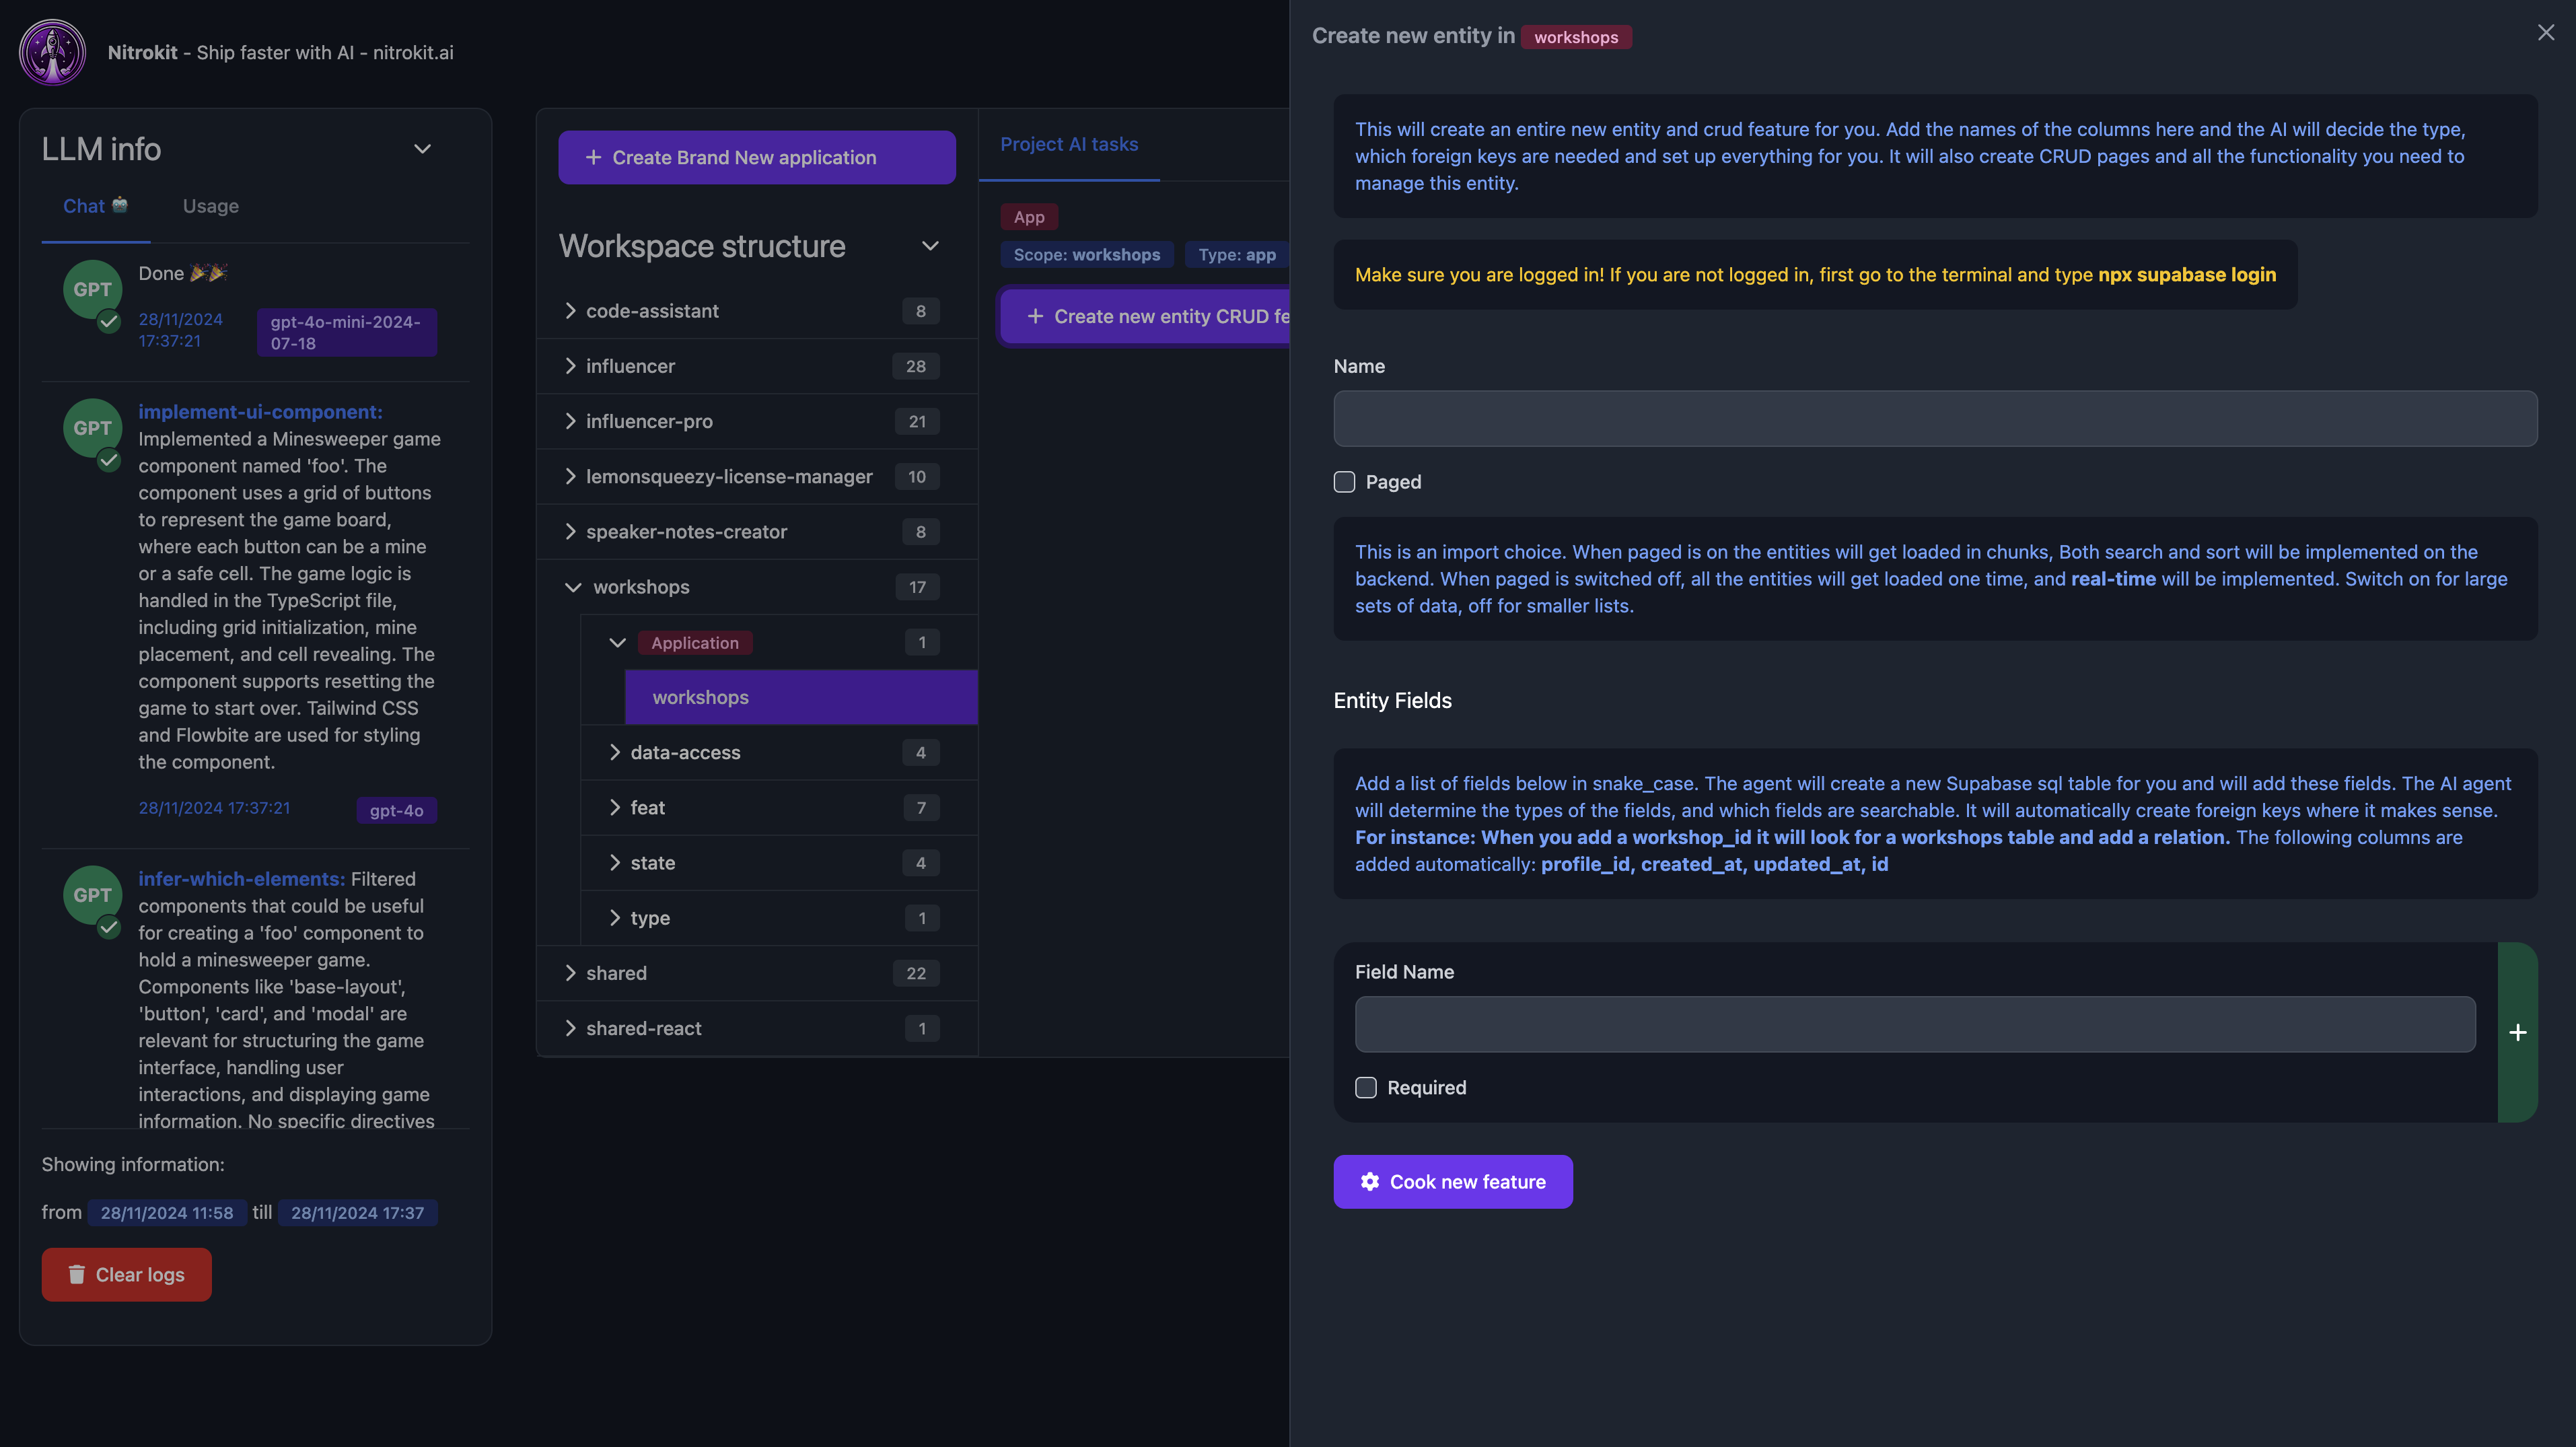
In the code-assistant, go to your app (in the workspace structure > workshops > application > workshops) and click the Create new entity CRUD feature button.

Add a name, whether you want the entity to be paged (otherwise it will fetch all data every time) and add some database fields and whether they are required or not.
Click the Cook new feature button and let AI do the work for you. On the left side you can see the LLM info and what the model is doing for you. You can also inspect the usage and the chat information by clicking on the circles.
When the model is finished, click on apply changes and run
npx nx run workshops:serveHave questions?
Still have questions? Talk to support.
